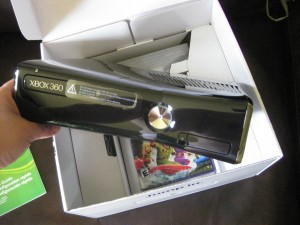
So, I received my brand new Xbox 360 from Amazon. It was impeccably packed.
Opening the box, I was greeting with the getting started guide.
Right underneath it was the Xbox 360 unit. It was lighter than I expected.
The Kinect accessory and “Kinect Adventures” game were right underneath.
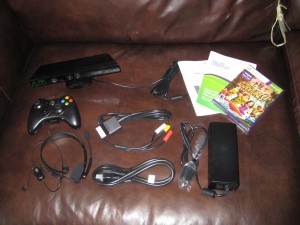
Here were the complete contents that came with the Xbox 360 unit in the box: the Kinect sensor, the Xbox 360 handheld controller (with AA batteries), a headset with microphone, a standard composite AV cable (red/white RCA connectors for audio, a yellow one for video), the AC power cord, a power adapter, the Kinect Adventures game, a manual, and a quick setup guide.
I connected the AC adapter to the Xbox, and then plugged in into the wall.
I was a bit disappointed that they included the composite AV cable in the box–you have to figure by now that most people buying an Xbox would have a high-resolution TV with HDMI or component (red, green, and blue) connectors. Luckily, I had some spare HDMI cables lying around, so I connected one end to the Xbox and the other to my TV.
Xbox Setup
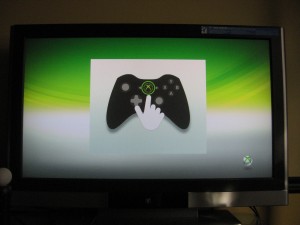
Turning on the TV and the Xbox, I was greeted by this.
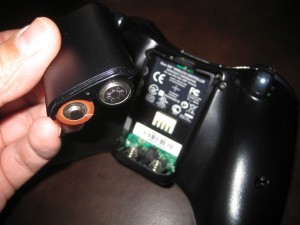
I put two and two together and figured that this meant I needed to use the hand controller to continue the setup. I added batteries to the controller.
I was back in business. After this, I went through what seemed like a million screens walking you step by step by grueling step to get set up. While I appreciate that Microsoft wanted to make things simple, they seemed to have overdone it a bit. I wish they could just have a single screen where advanced users could check their settings and move on.
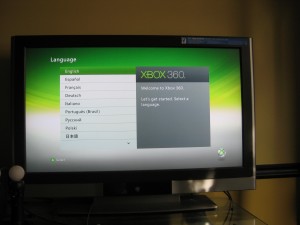
The first of the gazillion screens asked me to pick my language.
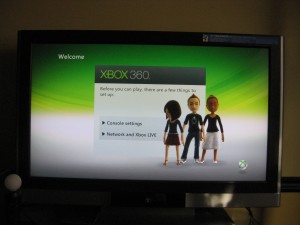
The remainder of the setup consists of two parts: Console Settings and XBOX Live setup.
I won’t include all the console screens, because that would make this post about a hundred pages long.
The console settings consists of selecting your country, confirming your display (mine was automatically set at 1080p which was automatically identified when I plugged the HDMI cable into my TV), and turning “console safety” on if you have little kids in the house and want to use ratings controls.
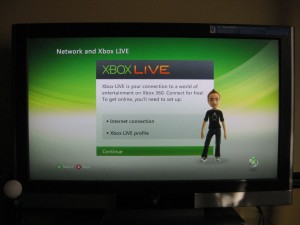
The next section walks you through signing up for Xbox Live.
To sign up for Xbox Live, you need to set up your Internet connection. You can either use a wired Ethernet connector. Better yet, if you have a wireless router and network set up, you’re fine–it’ll detect your SSID and you can continue.
Once connected, I had to download an update, which I did.
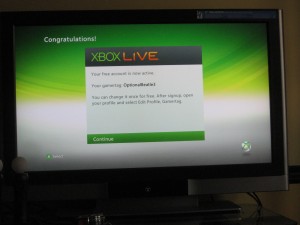
To sign up for Xbox Live, I had to select a time zone, tell the Xbox whether my area supports daylight savings time (shouldn’t it be smart enough to figure that out?), and create a new profile. To create a new profile, I had to enter my first name, last name, email address, and password (if you have a Hotmail or Windows Live account (sounds like the Xbox people aren’t talking to the MSN people, because I think it’s called a “Bing Account” now). Then, I had to configure my privacy settings. And then I had to accept their Terms and Conditions. After all that I finally saw this screen:
For some reason, the system assigned me a “Gamer Tag” of “Optional Beatle 3”. Why they didn’t allow me to choose my own “Gamer Tag” (nor even explain to me what a “Gamer Tag” is) is beyond me. But hey, it’s Microsoft. I’m assuming a “Gamer Tag” is a nickname you go by on when logged into Xbox Live.
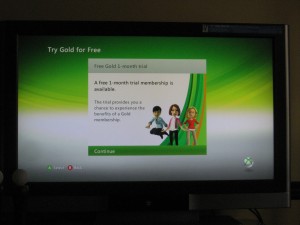
On the next screen, I’m told I can upgrade to Xbox Gold. When I say no, on the next screen they say I can try it for free.
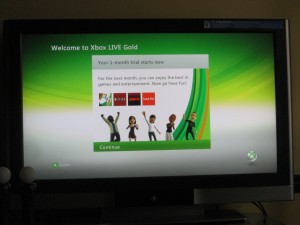
I really didn’t have the time this month to play with this, so I figured I’d decline the free trial and use it later. But to my dismay, it signed me up automatically.
I admit, this is where I started to get a little annoyed. Microsoft is back in its old habit of pushing things on us because we’re not bright enough to figure them out for ourselves.
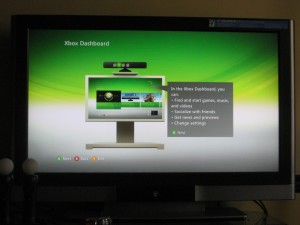
Anyway, the next grueling part of the setup process is reading through the “Xbox Dashboard and Guide”. The Xbox Dashboard is basically the opening screen when you start up your Xbox. You basically use your Xbox controller to navigate to find and start games you own, change settings, and view news and previews of new games.
Microsoft obviously wants this to become your central “media hub”, so it loaded it up with options where you can store music and videos, chat with friends, downlod movies, and more. I know some people who use their Xbox for all those things, but honestly, for me I just want to play my games. I wish they’d let me hide all the extraneous features I never use instead of making me wade through all of them. They go through several more screens, with one telling you to use the joystick to select things, one telling you to use the A button to go forward, and one telling you to use the B button to go back (despite the fact that you’ve been using A to select and B to go back through a dozen screens already). At this point I started to wonder if Microsoft paid their writers by the screen.
The next set of screens talked about the “Xbox Guide”. This is accessed from any game by pressing the round silver button on your controller, and allows you to interact with friends who happen to be playing online. (Honestly, I’d rather just pick up my phone and call them, but I suppose this is useful for certain multiplayer games).
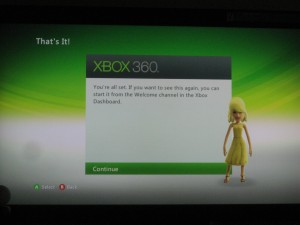
After what seemed like an eternity, Xbox Setup was over.
Setting up the Xbox was a relatively painless process, made a lot more painful by the pages and pages of time-wasting help screens.
Believe it or not, we’re only halfway done. Next I had to set up the Kinect.
Kinect Setup
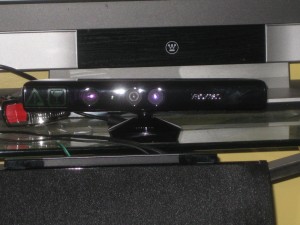
The first step was taking the Kinect Sensor out, plugging it into the Xbox, and putting it on a sturdy surface:
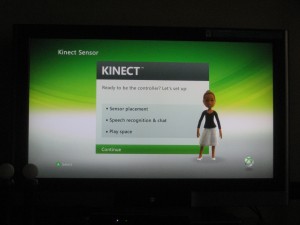
Then, you guessed it…more setup screens. But unlike with the Xbox setup screens where they tell you how to press an “A” button, these were actually pretty useful.
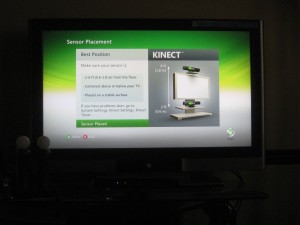
On the first screen, they instruct you where to place your Kinect sensor. Like a Wii sensor, it can be placed above your TV or below it. The most important thing is to make sure it’s stable–one wrong bump and you can see $150 disappear before your eyes.
I found it a bit odd that it’s not part of the setup process to set up how far away you should be standing from the camera.
You’ll need to make sure that the camera has a view of your entire body (imagine if a friend were standing where your TV is taking a picture of you and trying to get as much of you as possible into the frame). This means that you need to clear enough space so that you can stand 6-8 feet away from the camera. If you’re like me and have a tiny apartment, it may mean some creative fiddling with your furniture .In my case, my sofa is almost exactly 6 feet away from the Kinect sensor, which games remind me will let me play but will give me a “less than optimal experience”. So far I’m okay with that, but if push comes to shove, I’ll need to push and shove my sofa out of the way to give me a couple extra feet. Or, I know some people who’ve gotten creative and have mounted a shelf on the wall behind their TV, where they put the Kinect Sensor.
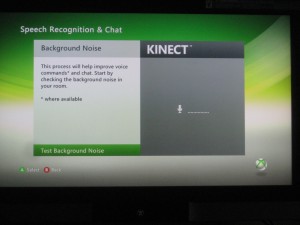
The next step is testing background noise.
Here’s a tip: do NOT try this step with a room full of people or with noise going on outside the window, as the screen will aggravatingly tell you to try and try again until you have silence. The purpose of this step is for support of games that use voice recognition–I’m not sure what the purpose of doing this check here is (if the house is free of noise during this test but noisy later, it defeats the purpose).
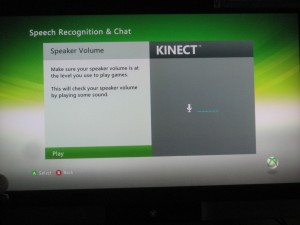
Next, the system checks the speaker volume. I’m guessing this step is so the Kinect Sensor learns to distinguish sounds you make from the sounds the Xbox is making.
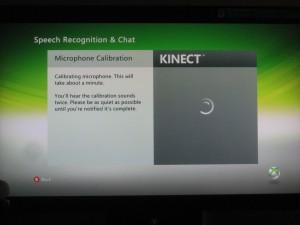
The next step is to calibrate the microphone inside the Kinect sensor. A tone will play on your speakers (if you have surround sound, it’ll play on all your speakers).
On yet another screen, it’ll ask you if you want to use Kinect for Chat for “games and Xbox Live Parties”.
Finally, you’ll go through screens teaching you how to interact with the Kinect.
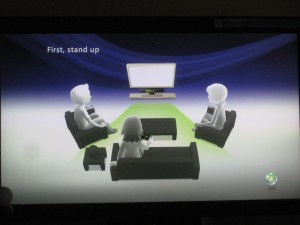
The first step is to stand in front of the Kinect sensor and make sure the area is clear (it takes three screens to tell you this). Again, you’ll need to clear away at least 6-8 feet in front of your TV.
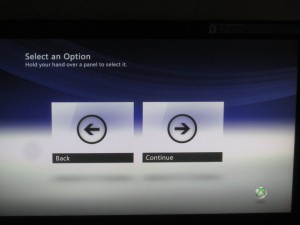
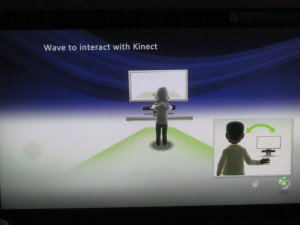
The first thing you’ll do is move your hand to control a panel. The way Kinect works, you move your hand to control a cursor. Instead of pressing a button to select an option, you hold your hand over it for a few seconds.
If the Xbox ever stops recognizing you, just wave your hands and the Kinect will “wake up” and recognize you again.
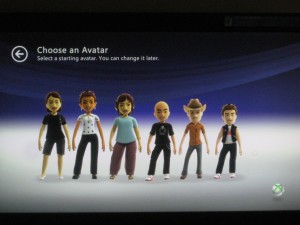
The next thing you’ll do is select an avatar. Just select any one and you can go back and customize it later.
I’ve picked out a few of the next gazillion screens to highlight the most important concepts you’ll need to know about the Kinect.
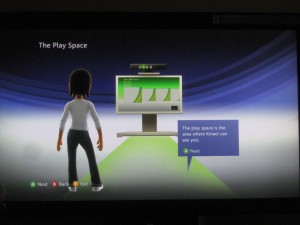
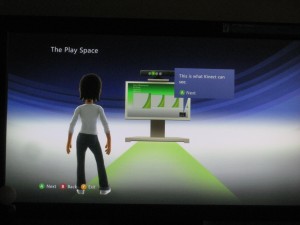
First, all the playing you’ll be doing with the Kinect will fall within a limited “play area”. Unlike the Wii, where you can play from almost anywhere in the room, the Kinect requires you to stand right in front of your TV. Again, the area should be 6-8 feet from the sensor.
In the lower right hand corner of the screen, you’ll see a little rectangle where you can see a small video of yourself in grey. This is how you can tell if the Kinect is seeing you properly.
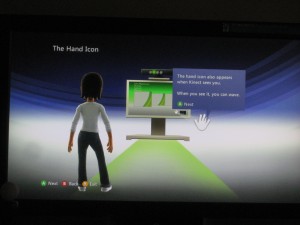
When the Kinect sees you, a few things will happen. A “hand” icon will appear and your hands in the grey video window will “glow” white. When you see it, you can wave and your glowing hands will change to purple, meaning you can control the on-screen cursor with your hands.
They have something called the “Kinect Hub”, which is not to be confused with the Xbox Dashboard. Well, okay, I found it a bit confusing, but at the end of the day it’s just a set of icons where you can select the game you want to play, sign in to your account, or view a bunch of advertisemen–I mean–“Kinect Experiences”.
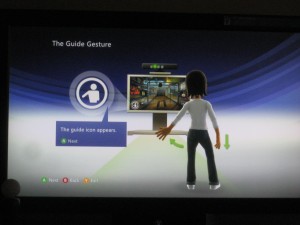
If you’re in any Kinect game and want to pause, the way to do it is to hold your arms like this:
An icon will appear in the lower left-hand corner, eventually leading you to the Game Menu, where you can resume the game or quit it. You can also access the “Kinect Guide” (analogous to the “Xbox Guide”) where, among other things, you can select the “Kinect Tuner” to re-calibrate your sensor when it doesn’t see you or hear you properly.
The final set of screens talk you through how to use voice commands to control the Kinect. It’s a cool feature, but to be honest, it’s not as intuitive as they try to make it out to be…you have to shout a specific set of commands to make it do anything. For me, it’s just as easy to use my hands to control the screen. Plus, if you have any kind of background noise in your room, it’s not going to be much use to you.
Finally, I was done.
Interestingly, what should have taken about 5 steps ended up taking literally about 50 steps. But the Xbox 360 and the Kinect were finally set up and worked perfectly. I literally spent the next hour just playing with the menus (it reminds me of kids who get toys and end up playing with the box).
But there were a world of games waiting. In the next post, I’ll post my first review!

